Wednesday, November 12, 2014

Beautiful Birch Trees


I was able to get these beautiful Birch tree pictures at my parents house.  They have this lovely tree that has such beautiful bark!  I love the close-up of the bark, it really shows how unique it is.


Linking to Nicer Than New ~ Share a snap

Monday, November 10, 2014

Wooden 4 by 4 Presents


I was inspired by the wooden 4 by 4 presents that I saw over on Craft Critters and decided to give them a shot.  I love how rustic and simple they look.  Of course I love burlap so that is my favorite part! Here is the original post that inspired me!
I wish I had taken pictures while I had my hubby out cutting the wood but I forgot.  He just used a circular saw which really wasn't the ideal way to do this but it worked! We made cuts at 6 1/2 inches, 5 1/5 inches, and 4 1/2 inches.
These are the color paints I decided to use. I painted each block a different color.


I pained one coat and then waited for them to dry.  Then I took them out to the garage and sanded them down a bit.  Especially on the edges. 

 Next I brushed them down with a dark special walnut stain.  I let it sit for ten minutes and then wiped them clean.  Distressing the wood this way is my favorite!  It makes such a difference.   


After the blocks were finished I cut strips of burlap to tie on as ribbon.  Burlap is easy to cut because you can follow the strands and it stays even. 
Then I tied the burlap on top and they were finished!  I am very happy with the finished product!


Friday, November 7, 2014

DIY Felt Ornaments - Christmas Stars

I am ready for Christmas to be here and decided it was time to start thinking about our Christmas decorations for this year.  I have decided to make a 'rustic tree'  all from homemade decorations! (If I can make enough to fill a tree in time!)  I have some really fun ideas!  The first one I decided to try was these DIY felt ornaments.  I knew I wanted to do some stars and I found the perfect stencil at JoAnn's, it had many different size stars.  I also want to do candycanes, bells, and snowmen but they will be for another post.  These little guys were fairly simple, a little time consuming, but I absolutely love the finished product.  I am going to walk you through how I made them step by step. 
 
First I got around all the supplies I was going to need. 
Star Stencil (you could do any shape)
invisible fabric marker
fabric scissors
heat n' bond
assorted buttons (I found some great start wooden ones too)
assorted Christmas fabrics
needles and matching floss thread
stuffing (if you want to stuff them)
 
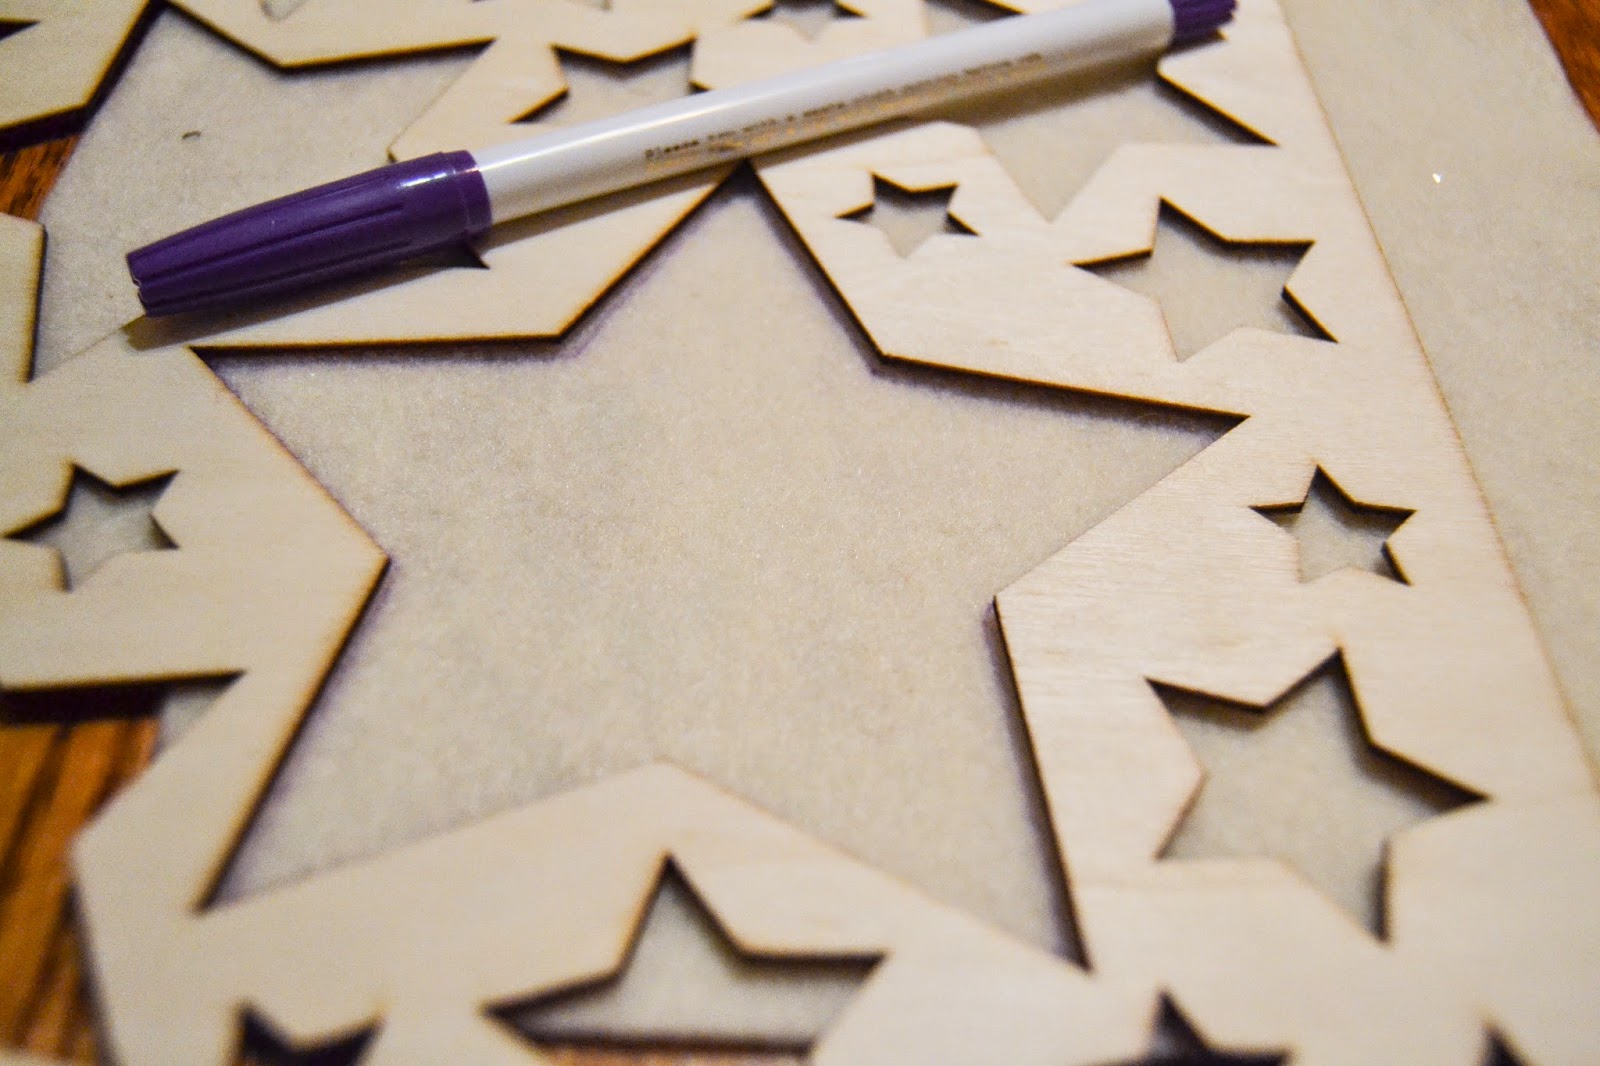
 Once you are ready to start it is time to trace your pattern on the felt color of your choice.  These invisible markers are nice because you can see it to cut but then it disappears.  I do notice it sometimes sticks around on felt more than fabric but not enough to sway me from using it.  So I went ahead and traced 8 stars, because I made 4 ornaments my first time around.  Then I cut them out carefully with a pair of fabric scissors. 
 Next I picked 3-4 fun fabrics that I wanted to use for the center stars.  I cut pieces of heat n' bond and ironed it onto the fabrics.  I always iron on first and then cut out the shape because it makes cutting easier and it saves you from cutting twice or getting heat n' bond on your iron by trying to match up shapes.  Follow the directions on the package of heat and bond.  Paper side up iron carefully.  It heats up fast so move the iron constantly. 

 Once you've ironed it on you can trace your smaller star stencil on the paper of the fabric.  This also makes it easy to cut with the paper attached.  You only need 4 smaller stars, for the front side of each ornament.  After you trace them cut them out. 
 You can now peel the paper off the back and place them on the felt stars!  I forgot to take a picture here but you will now iron them again.  BE CAREFUL this time.  Felt melts fast so you don't want to burn the edges of the star.  If you turn your iron down and move it constantly you will be fine!  You will start to get an idea of what they will look like!  Just wait though, it is the blanket stitch around the edges that REALLY finished them off.
 Now its time for buttons!  I found these cute wooden star buttons at JoAnn's that I used on some of the stars.  Regular buttons do look great too.  I have too big containers of assorted buttons that I bought on clearance years ago and they have been handy SO many times.  They are a great thing to keep in your craft room!  So go ahead and sew your buttons on to the top star.  I used a tan colored thread that I had on hand.
 Now its time to start your blanket stich!  I used a floss that matched the color of the fabric on the center star.  I also started on the bottom of the star coming in from the back so that once I got all the way around I could tie the two loose ends together and cut the strands short.  As you get most of the way around you can start stuffing the star.  Sometimes it works well to use closed scissors to push the stuffing into each point. If you don't know how to do a blanket stich type it into youtube.  I'm sure you'll find a helpful video.  I will try to make one to post here asap. 
 Go all the way around the star.  This is the time consuming part of the project.  I got all mine ready for the stitching and then sat in front of the TV at night to do it.  I think it took me about an hour to do 4.  I also found a very thin ribbon that I threaded through the top of the stars so that I can hang them on the tree once we get one!
 I ended up making 2 sets of 4, so I have 8 stars to hang on my tree when that time rolls around.  I am very pleased with how they turned out!  I hope you like them!  Here are some more pictures!  Feel free to ask me if you have any questions!


I've been featured on:

Our Three Peas

Sunday, November 2, 2014

Pumpkin Spice Creamer

Fall is my absolute favorite time of the year.  One of the things I look forward to the most are the delicious pumpkin spice lattes and coffee creamers!  Mmmm...so good!  So I thought I would try to make my own pumpkin spice coffee creamer.  The upside to the homemade version is it has 5 ingredients! Much easier to read then the ingredients on the label of some other coffee creamers.  The downside is it really should be used within a week. 

Ingredients:
Organic Whole Milk
1 pint Organic Light cream
Sugar
Pumpkin puree in a can (organic if possible)
Pumpkin pie spice

First I mixed 2 cups of milk with 1 pint (2cups) of light cream.  Next I added 1/4 cup of sugar, 1/2 cup pumpkin puree, and 1 teaspoon pumpkin pie spice.  I stirred with a whisk, and Done! 


Now brew a cup of your favorite coffee and add as much as you like!  You could really add more sugar and pumpkin pie spice to your own taste!  I just kept adding until I thought it was good, that is how I got amounts above!  Then make something delicious to eat with your Pumpkin Spice Coffee.


I made these delicious  cinnamon chip scones that I had in the freezer.  I will be making more for the freezer soon and will share that wonderful recipe as well!  Yumm!


I've been featured on..


Tuesday, October 28, 2014

Warm and Cozy Infinity Scarf

 I made this wonderfully warm and cozy scarf following this pattern that is from Delia Creates.
It was super easy and I finished it in 2 nights, probably about 4-5 hours.  I used Hobby Lobby's 'I Love This Yarn' in graphite, it took about a skein and a half.  It is so soft and comfy.  It looks great doubled up with a coat or even just hanging on once.  The gray is great because it will match almost anything!


Monday, October 27, 2014

Sock Monkey Baby Hat


There is nothing I get more excited about then FREE cute crochet patterns!  I recently found a new website that has so many free patterns I will be kept busy for a very long time.  Repeat Crafter Me is the name of this blog and I absolutely love it!  She Crafts, Crochets and Cooks!  It is perfect.  Anyway, as I was browsing her blog and trying to decide which project I should start first I came across this adorable Sock Monkey Hat.  I already had the 3 color yarns at home so it was a quick decision!  I followed this Sock Monkey Hat Pattern exactly (Except my red mouth didn't turn out quite the same, but I liked it well enough).  I used Vanna's Choice Cranberry, Vanna's Choice Barley, and 'I Love This Yarn' Ivory.


This will be the perfect baby gift paired up with one of the baby blankets I have already finished (Chevron Baby Blanket). 
 
I am also selling these hats on Etsy, Check them and my other items out!

Chevron Baby Blankets

I have been looking for a good pattern to use when I am making baby blankets.  I have a slight obsession with chevron and was looking on Pinterest when I found this awesome blog:                    Daisy Cottage Designs
She has tons of really great FREE crochet patterns that look wonderful and she also gives advice on how to take pictures of your work if you intend to sell on Etsy (which I am in the process of doing). 
One of her free patterns is for a Ripple Baby Blanket.   I decided to give it a try and I am in love with how it turned out.  I did one with 4 colors (blue, yellow, white, and gray) and did a random pattern with the number of rows.  Here is some pictures of how it turned out:


The colors just went so well together! 
 Now I just have to wait for someone to have a baby boy!
All of the yarn used for this blanket was Hobby Lobby's I Love This Yarn! (Which I really love!)
I Love This Yarn Buttercup
I Love This Yarn Turquoise
I Love This Yarn White
I Love This Yarn Graphite


I also did another blanket using the Rainbow Ripple Pattern that they did on Daisy Cottage Designs. I love this one too!  I think it would work for a baby girl or boy!
 
 I absolutely love the colors!  I used 'I love this yarn!' from Hobby Lobby and Lion's Brand Vanna's Choice for the yarns.  I will update with yarn color names soon!
Blue ~ I Love This Yarn Medium Blue
Yellow ~ I Love This Yarn  
White ~ I Love This Yarn White
Pink ~ I Love This Yarn Pink
Red ~ Vanna's Choice Cranberry
Green ~ Vanna's Choice Lime
 
The reds and greens were hard to find because the others were all light baby colors and I wanted them to match nicely but its hard to find a nice red and green that go well.  I think they ended up working out great!
 
 
I just opened an Etsy Shop and I am selling both of these items!  Please check them out and More!